I've got a plan!
Students delve into the detail of living conditions in a convict hut.
This is the student activity 1 of 7 of the Setting up camp learning activity.
I've got a plan!
Teachers note: Print Resource 1: Hut Plan
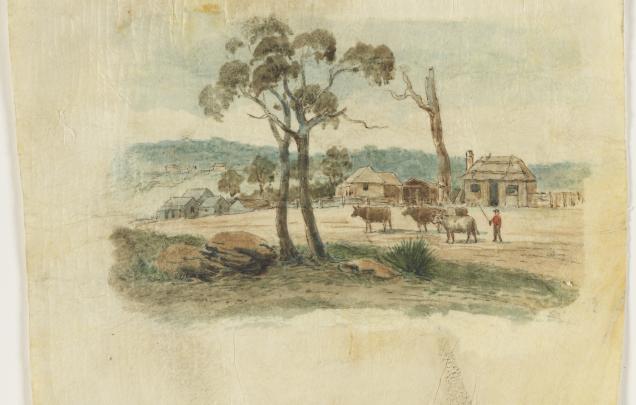
Read this quote from Captain Watkin Tench who recorded this description of buildings in Parramatta in November 1790. Similar buildings would have been built earlier in Warrane/Sydney Cove so this quote provides a good description.
It contains at present 32 houses completed, of 24 feet by 12 each, on a ground floor only, built of wattles plaistered with clay, and thatched. Each house is divided into two rooms, in one of which is a fire place and a brick chimney. These houses are designed for men only; and ten is the number of inhabitants allotted to each; but some of them now contain 12 or 14, for want of better accommodation. More are building; in a cross street stand nine houses for unmarried women: and exclusive of all these are several small huts where convict families of good character are allowed to reside.
Study the floorplan of the hut. Find your downloadable early hut plan here. This is a birds’ eye view.
Answer these questions:
- What were the two rooms used for?
- How many doors are there?
These huts were designed for large groups and housed up to 14 people. They might have slept in hammocks instead of beds.
In the family huts, which were much smaller than the group huts, the whole family would sleep in the small room (also known as the inner room). Lodgers, people who paid rent to live in the same house, would sleep in the main living room (also known as the outer room), on a mattress or possibly on the floor. There may have been a door of split wood between the two rooms. If there wasn’t a door there was little privacy. Fabric for clothing was scarce so there would have been no fabric to create curtains or a door curtain between the rooms. The outer room was also the combined kitchen, dining room, lounge room, playroom and work room, plus a place for sorting the washing, relaxing, child-minding and socialising. That’s a lot for one room!
Answer these questions:
- What was used as a replacement for glass in the windows? Is there any privacy? Is there enough light or fresh air? Is it insect proof? Can you lock your house?
- Where is the bathroom? What did they use as a toilet? What was the alternative to toilet paper? How did they wash? [Answer in Additional Information.]
Recreate the hut’s dimensions by placing masking tape on your classroom floor or draw in chalk on the playground. This size was for the groups of men and women. Have 14 students stand in the hut. Now lie down to see how many of you can find a space to sleep. Imagine a much smaller hut for a family. Tape a smaller hut on the ground. Could your family fit in the small room to sleep? Lie down on the ground to test the size for beds. Decide where you will put some furniture. You won’t have much. Early eating and cooking utensils were brought from England or carved from local wood.
Engineer a real shelter to protect yourself from the elements. Investigate the building materials available to convicts. Use natural materials to build a shelter (or part of a shelter) on the grounds of your school (for example, make your own window of ‘woven wattle screens’) OR build a small-scale shelter in the classroom. Perform some scientific tests on it – waterproof, collapse-proof, flood-proof, vermin-proof, lockable etc.
Answer these questions:
- Would your shelter keep you dry? Could your shelter wash away in the rain?
- Could someone break into your shelter?
Assess your shelter design: How could you improve your design? Is there a better test method you could have used?
Discuss the impact of architecture and design on the lives of people who live in them.